
As we begin to enter the warmer months, there’s nothing more satisfying than the crisp, refreshing, flavor-filled crunch of a pickle. And making your own at home is like writing your own choose-your-own-adventure book: Like Peter Piper himself, you can pick not only your own peppers, but you can also pick practically any vegetable (even some fruits), as well as customize flavors to your liking, and wow all your friends and family with a sensationally self-secured snack. But it can all be intimidating for a beginner briner. That’s why I chatted with Alan Kaufman, owner of The Pickle Guys in New York, who has been selling pickles for decades. Alan’s a pickling pro, and is here to share his secrets with us. (P.S. The Pickle Guys make A+++ pickles, and they ship anywhere in the country…just sayin’.) -NPH
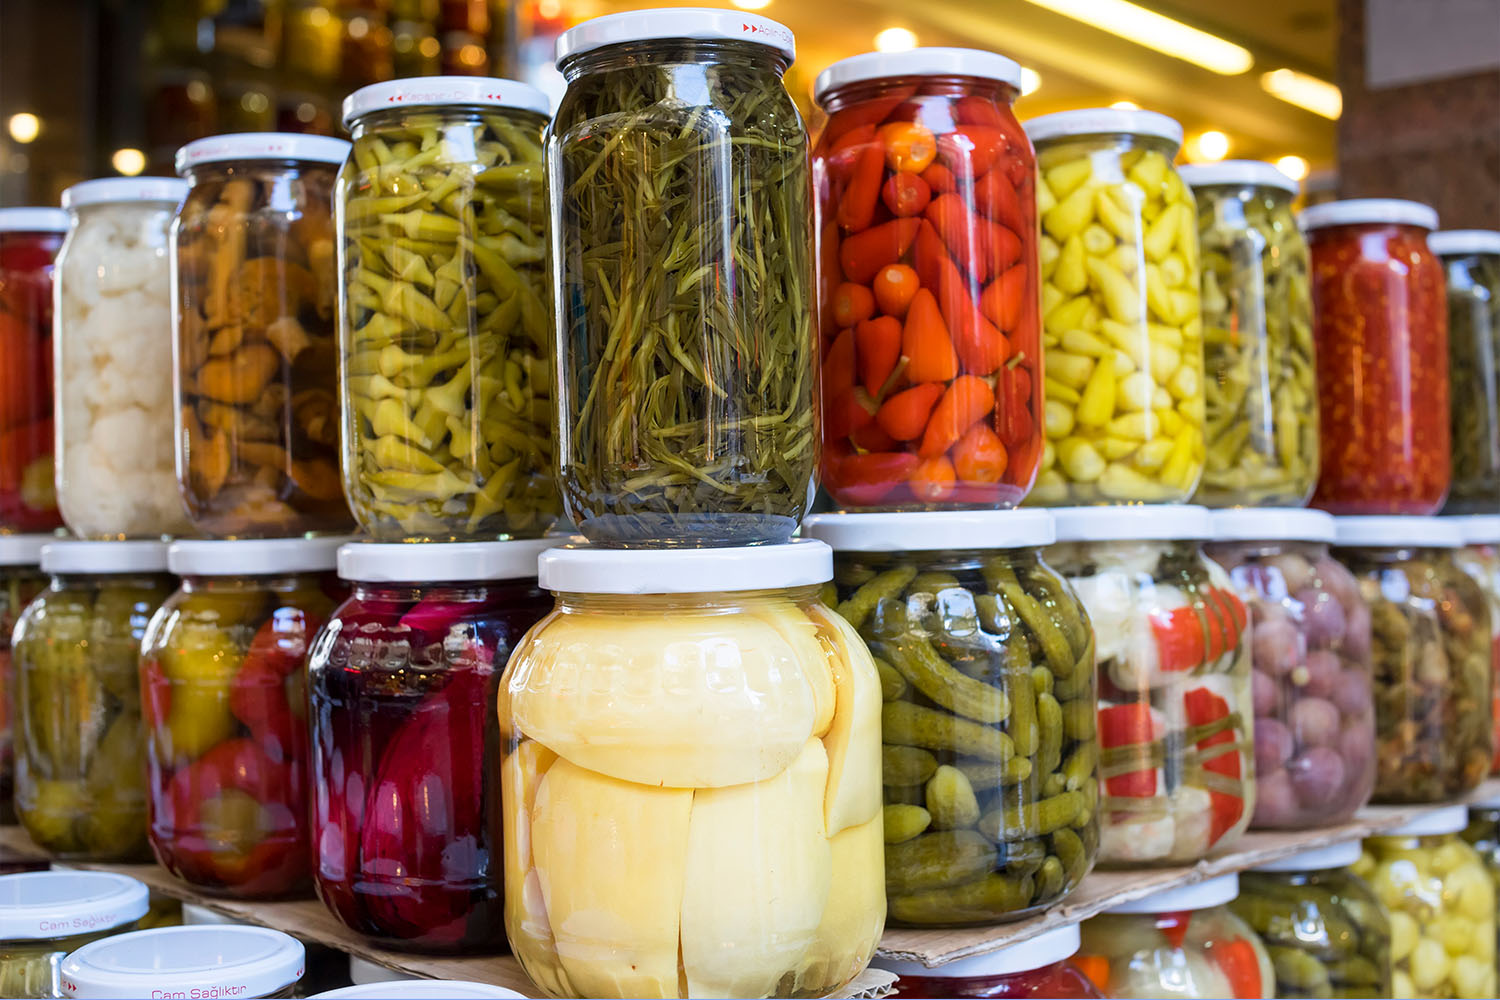
Step 1: Pick Your Vegetable
Alan says you can pickle just about anything: “I like pickled pineapple and pickled okra, which isn’t slimy once you pickle it. String beans are good. I also like to pickle red onions and put them on fish tacos. Pickled carrots are great, too — you can make them spicy — or you can pickle hot peppers and make them sweeter.” For foods with thicker skins, like beets, it might be wise to parboil them a bit before pickling, especially if you want a less crunchy texture in the end. (Some folks even grill vegetables before pickling them.)
Alan adds that pickling is the time to use high-quality ingredients — the stuff you get at farmers’ markets, or what’s in season at your grocery store. Look for beautiful, fresh, blemish-free produce. “A good rule of thumb? You start with good, you end up with good. If you start with bad, you end up with bad,” says Alan.
Step 2: Pick Your Flavor(s)
Once you’ve picked what you’ll pickle, it’s time to decide what you want it to taste like. It all starts with your brine, and your pickling spices. (What spices you use are totally up to you — recipes online abound — and may change after you’ve pickled things a few times to figure out what you like.)
Alan says the most basic pickling brine you can start with is just salt and water. How much salt you use is determined by how salty you want the pickles. Many recipes call for 2-3 tablespoons for every liter of water. But if you want the pickle to also taste sour, add some vinegar to your solution. (Many such recipes call for a 1:1 ratio of vinegar and water.) Or, if you’re seeking sweetness, throw in some sugar. If you want pickles that taste both sour and sweet, add vinegar and sugar. For a little heat, try adding garlic, or crushed red pepper flakes or a chili pepper.
Basically, Alan says, it’s all about experimentation. He says there are a gazillion recipes for pickles on the interwebs, but at the end of the day, it’s all about the flavor you’re looking for, and that takes trial and error. But it’s also part of the fun.
Step 3: Pick Your Flavor Intensity
Now that you’ve picked your pickles and your flavors — maybe you want spicy okra, or some sweet string beans — it’s time to think about…well…time.
“If you pickle a cucumber for 1 to 10 days, you’ll get a really crunchy and clean-tasting pickle; mostly salty. If you let it sit for 2 weeks in vinegar, it becomes half of a sour pickle. Let it sit for a month, and it becomes three-quarters a sour pickle. And let it sit for 3 months, and it becomes a full sour pickle,” Alan explains. “The longer it sits, the more flavor it gets.”
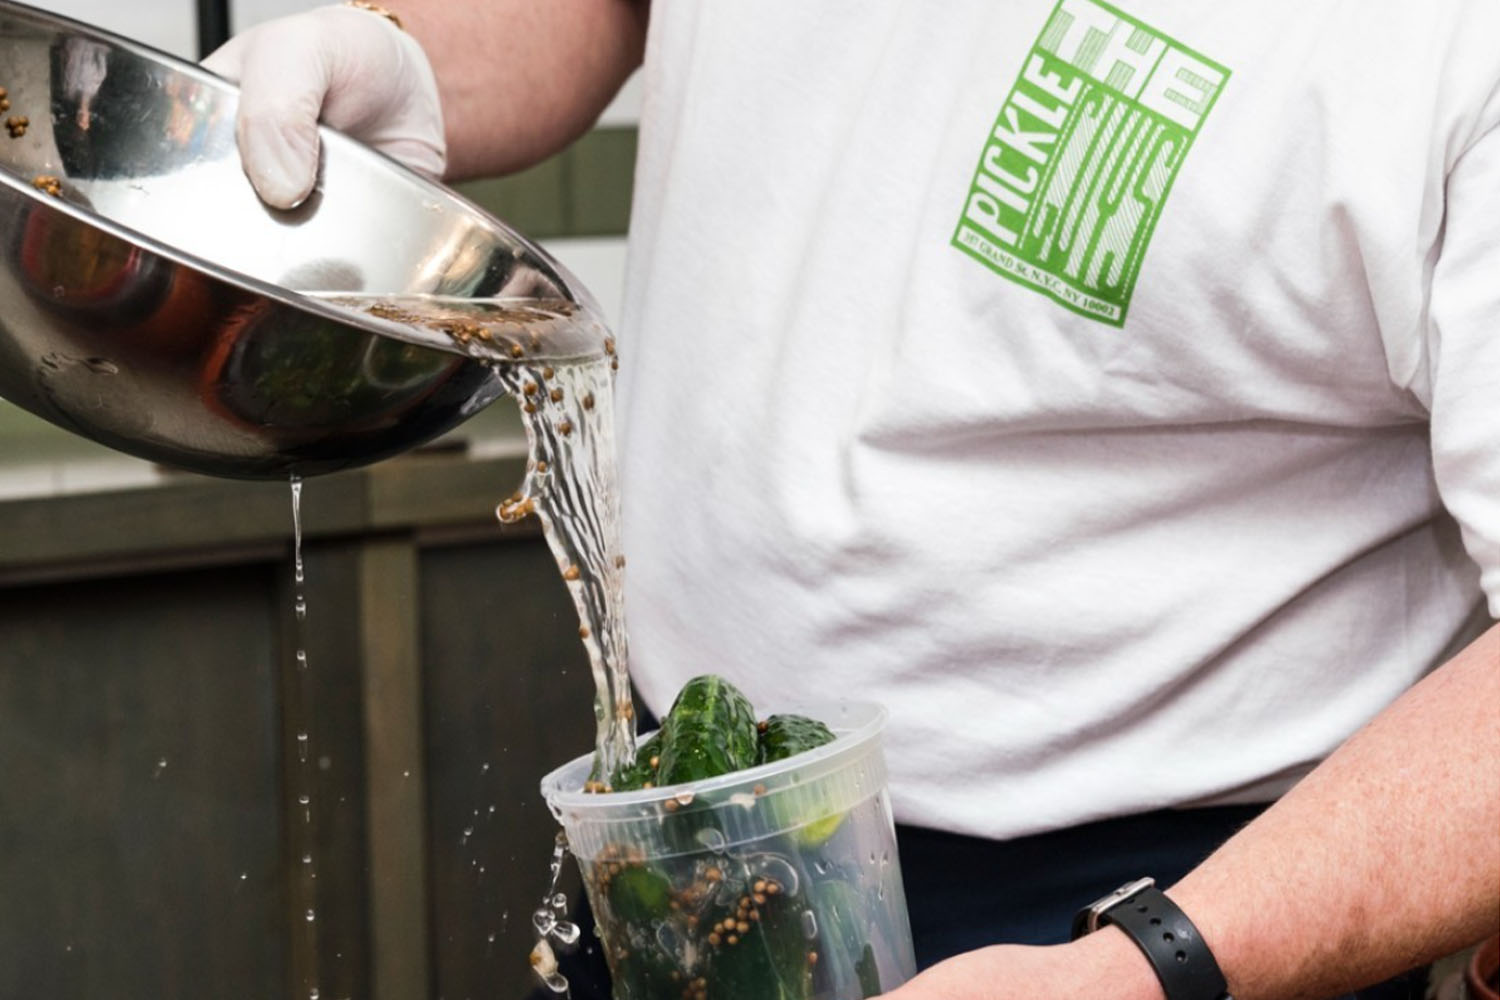
Step 4: Let the Pickling Commence
With all your decisions pre-made, it’s time to actually commence the pickling process!
Prepare your produce — slicing them up as you like and peeling tough skins (a must for things like pineapple and beets, for instance). Decide what you want in your brining solution, bring it to a boil in a small saucepan, let it cool, and fill a container like a mason jar with the veggies and brine. Then stick it in the fridge. (Alan says the fridge is best — not a cool/dry place, and certainly not the freezer.)
Having trouble keeping your pickles crunchy? Alan offers some tips: “Grape leaves or oak leaves work well in the jar, since they have tannins in them that can keep the pickles crunchy. Some people use black tea, which may change the flavor a bit, but you don’t need that much in. Or try some alum, which you can find in the spice section of the grocery store,” he says. “It’s a little bit like chemistry.”
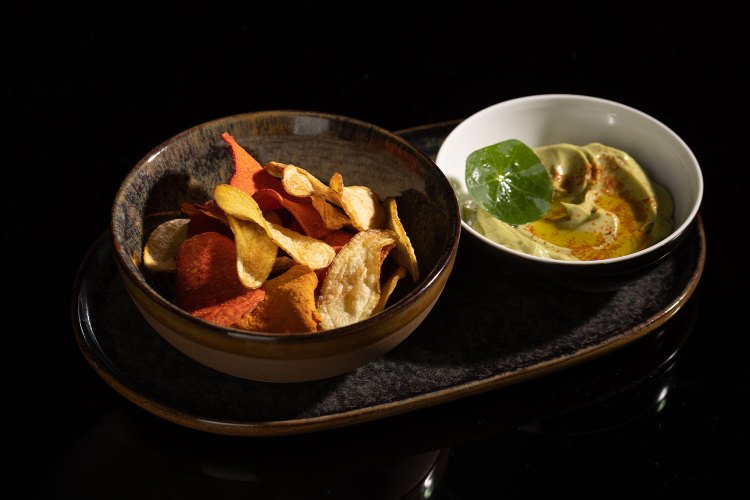
Step 5: Enjoy!
The best thing about learning an artisanal skill like pickling is…wait, scratch that. There are a LOT of good things about learning a skill like this.
“There are no chemicals and no preservatives, because you’re doing it yourself. But it also feels good, and you feel proud of yourself. Just like making wine or beer or anything that you make from home, you share it with your family and they say, ‘This is really good!’ And there’s always room for improvement,” says Alan. “You can never go bad; you can only go better.”
Most Popular


Recommended
Suggested for you